

Thursday, December 1, 2016
December Daily 1
Have you heard of the December Daily album? You create one layout each day of the month of December. I've tried this once and made it to day 7 I believe. Here goes again!


Sunday, November 8, 2015
Dance Team Push Pops
Dance competition season has begun again! Time to troll Pinterest and the candy aisles for ideas!


At each competition, I give the girls a candy good luck gift and a ribbon. As the seasons and years go on, the ribbons add up to make a big fluff of ribbons on their gym bags.
Yesterday's good luck gift was Push Pops.
One thing to note on these is the blue ones make their tongues blue!! :)
Instead of myself giving out a ribbon this time, a team member made ribbon key chains. They are adorable!
Happy dancing!
Sunday, August 23, 2015
Custom notebooks
My daughter was invited to the neighbor girl's for a birthday celebration. As a teacher, I have a bit of an obsession with school supplies and I just bought a few sets of Mr. Sketch smelly markers on sale. What little girl wouldn't love smelly markers?! But... You do need something to write on so we made her a customized notebook!


This notebook measures 7"x7" and has plain white paper on the inside. The first page contains a personalized note from my daughter.
We made the covers out of chipboard. The front cover is torn strips of scrap paper selected by my daughter. We then used the Cupcake Lite Cricut cart for the lettering.
We made this personalized birthday notebook in under an hour and are ready for the party!
Tuesday, April 7, 2015
Under the Sea Book Fair
I love Book Fair time! This Spring, Scholastic's theme was Under the Sea. We had a lot of fun decorating my library spaces for the fair!
Classroom Wishlist made using the general idea from Scholastic but with my own twist using the Life's a Beach cartridge!

The libraries:


Classroom Wishlist made using the general idea from Scholastic but with my own twist using the Life's a Beach cartridge!
The libraries:
Saturday, January 31, 2015
Dance Team Good Luck gifts
It is competition season for Dance Team and I wanted to do something cute for the girls. After perusing Pinterest for awhile, I decided on Pop Rocks!

Each competition the girls also get a piece of ribbon to tie on their bag. By the end of the season or a couple of years they have a really cool poof of ribbons on their Dance bags!

I'll add more as we go along!
Each competition the girls also get a piece of ribbon to tie on their bag. By the end of the season or a couple of years they have a really cool poof of ribbons on their Dance bags!
I'll add more as we go along!
Friday, January 9, 2015
Christmas Tag Swap
I love my ScrapHappy family!
Here are the tags I sent out for a Christmas tag swap.


I used Jolly Holidays for that adorable stocking!
Here are the tags I sent out for a Christmas tag swap.
I used Jolly Holidays for that adorable stocking!
Monday, April 28, 2014
Spring Tag swap
Another tag swap! These are really fun to be a part of. The theme this time was Spring. I wanted to think of something different than the flowers and Easter-y things that first come to mind.
i decided to make all of the Spring rain into a happy topic.

I used the Cricut Lite cart Crocs Rule for this. Lots of Glossy Accents helped create the shiny slicker and rain on the umbrella.
i decided to make all of the Spring rain into a happy topic.
I used the Cricut Lite cart Crocs Rule for this. Lots of Glossy Accents helped create the shiny slicker and rain on the umbrella.
Monday, March 17, 2014
St. Patrick's Day tag swap
Hello! Happy St. Patrick's Day to you! I participated in a tag swap in a new crafting group I have joined and I really enjoyed working on something again!

Eacg tag had different beading hanging from top with some great charms I found at Hobby Lobby.

One of the best parts? My son was born on the day the tags were due to be mailed! I made sure to request from my hospital bed that my husband got them mailed off! :)

Eacg tag had different beading hanging from top with some great charms I found at Hobby Lobby.
One of the best parts? My son was born on the day the tags were due to be mailed! I made sure to request from my hospital bed that my husband got them mailed off! :)
Wednesday, February 5, 2014
Graduation layout
Yes, this is a graduation layout, even though you don't see any graduates! These pictures were taken at the party, where it was one of the first times our daughter met many of her relatives.

The graduation hat was cut from the Cricut Recess Lite cart, at 3".
Tuesday, February 4, 2014
Ice Cream Cone
Today's challenge was to create a quick layout to dispell the myth that scrapbooking doesn't always have to take forever. It took me a complete total of 35 minutes, from choosing which picture to scrap to taking the picture. Super simple but I like how it turned out. I am a definite fan of quick scrapbooking!

Monday, February 3, 2014
My Awesome Big Sister
I love this woman! This layout is all about my sister. The challenge was to make a layout without a title.

Saturday, February 1, 2014
Taylor Swift Layout
Here we go again! LOAD214 has begun. Lain Ehmann is once again hosting a challenge to create one layout a day for the month of February. I already know I won't make it each day, especially with a baby due soon, but I can proudly say that today, on the first day of February, I created my first layout since last May, when I was also doing a LOAD challenge!!!!

I used Varsity Letter, narrow letters at 4.25" and Nifty Fifties for the guitar at 11.25".
This layout has been haunting me since I started scrapbooking. The photo is so precious to me and I could never come up with the perfect layout for it. When Lain gave today's prompt, I knew this was the picture to scrap today. It's a little bit blurry and you can barely see Taylor but my daughter is priceless in it. Also, the only other picture I have of Taylor on stage is super blurry but I know it's her :)
It's hard to see but Taylor wore a red sparkly dress for a big part of the concert and so the background paper plays on that. I also tucked two pictures of us at the concert behind the main picture and the journaling is back there too.
I used Varsity Letter, narrow letters at 4.25" and Nifty Fifties for the guitar at 11.25".
Friday, November 15, 2013
60th Birthday Card - Easel Card
Hi all! I know it has been a long time since I have posted. I haven't had much craft mojo going on :(
Today is my day over at CricutDIVAS and I am sharing the first easel card I have ever made. I LOVE it! These are so easy to make and a lot of fun to design! This card celebrates the 60th birthday of a very special woman, my mom.
The card measures 4"x4". It started with one 4x12" piece of black cardstock. The simplest directions for an easel card can be found HERE. From there I knew I wanted to use paisley so I stayed with silver, white, and black for my card. The white background shape is cut from Paper Trimmings at 3". The 60 is from Theresa Collins Sophisticated cart at 3.25".
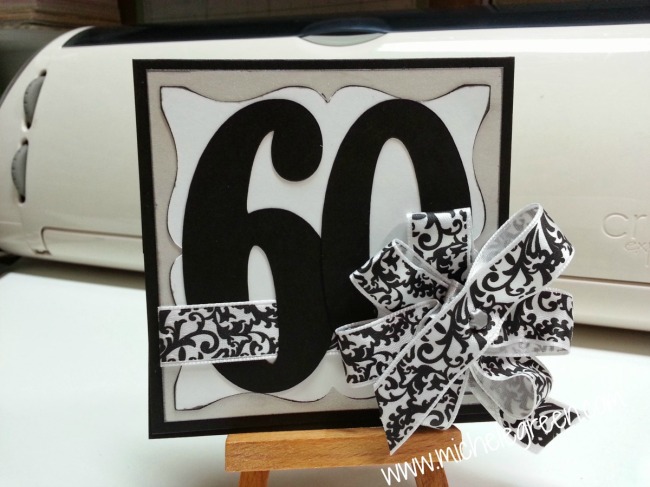
I threaded this Recollections Paisley ribbon through the numbers to bring the whole card together. I created the bow by using a brad and poking it through the ribbon as I folded it over. I used glue dots to adhere it to the page and also in between a few of the layers to get it to lay right.
When you open an easel card, there will be a space that you can only see when the card is all the way open and a place that will be part of the display. It looks like this when all the way open:
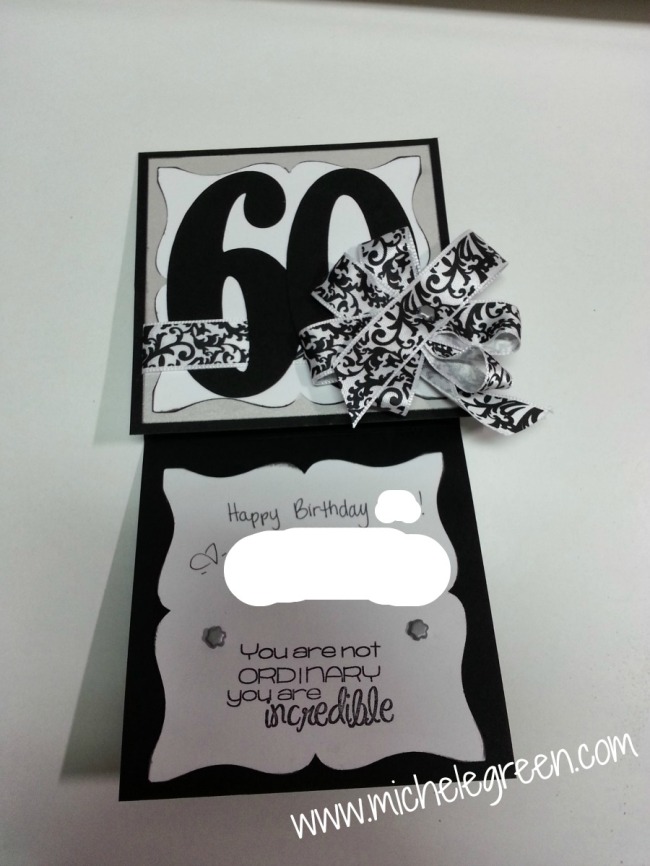
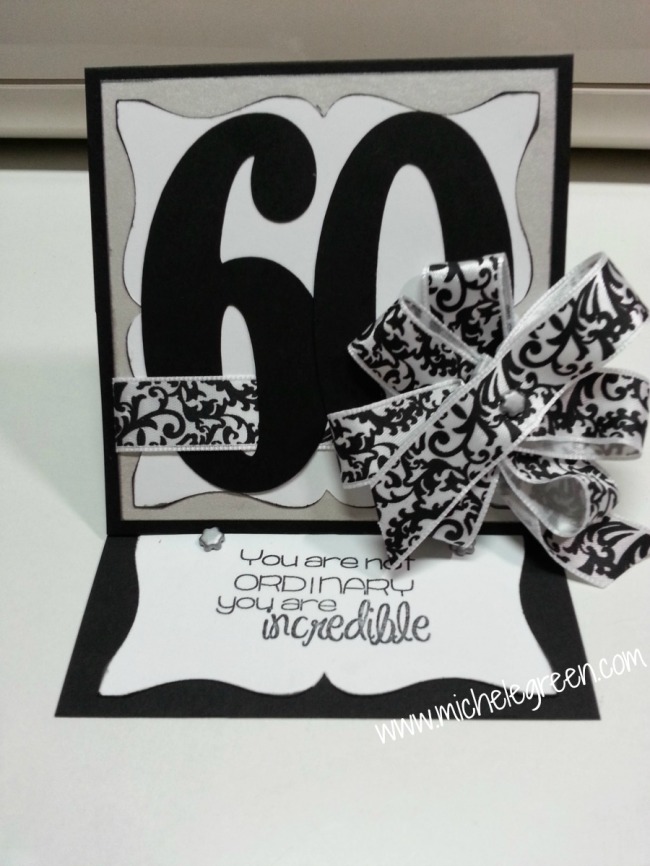
I chose to use the upper portion to write my sentiment and the bottom portion, which will be displayed to put this awesome Pink by Design stamp! You then put a brad or button or something to hold the top portion of the card up. Mine looks like this:
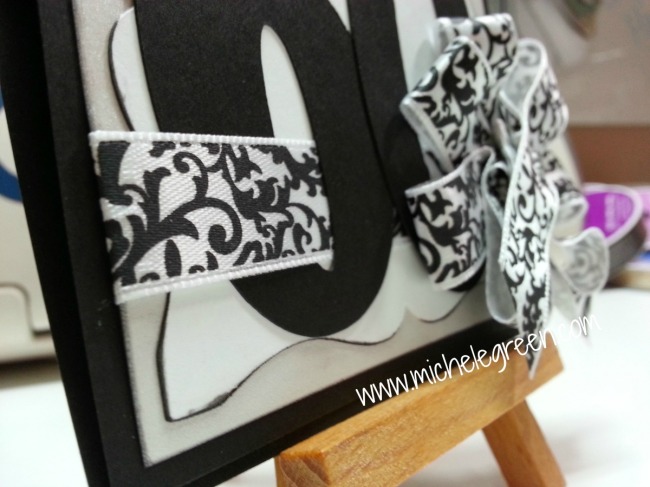
And from the side an easel card looks like this:
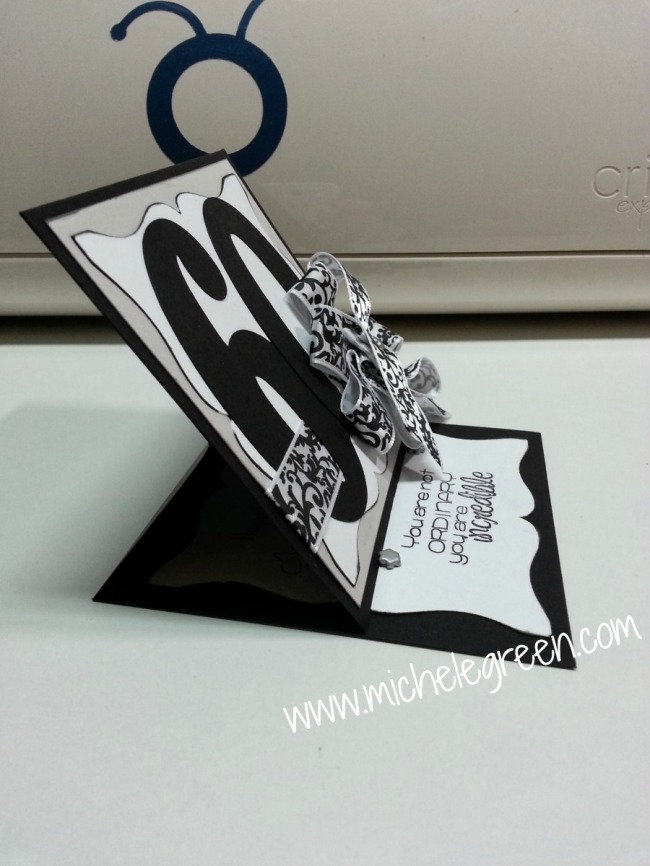
I hope you have enjoyed this card - I did! :) Easel cards are much easier to make than they appear so I suggest you try one if you never have! I know I waited way to long to try this myself!
Today is my day over at CricutDIVAS and I am sharing the first easel card I have ever made. I LOVE it! These are so easy to make and a lot of fun to design! This card celebrates the 60th birthday of a very special woman, my mom.
The card measures 4"x4". It started with one 4x12" piece of black cardstock. The simplest directions for an easel card can be found HERE. From there I knew I wanted to use paisley so I stayed with silver, white, and black for my card. The white background shape is cut from Paper Trimmings at 3". The 60 is from Theresa Collins Sophisticated cart at 3.25".

I threaded this Recollections Paisley ribbon through the numbers to bring the whole card together. I created the bow by using a brad and poking it through the ribbon as I folded it over. I used glue dots to adhere it to the page and also in between a few of the layers to get it to lay right.

When you open an easel card, there will be a space that you can only see when the card is all the way open and a place that will be part of the display. It looks like this when all the way open:

I chose to use the upper portion to write my sentiment and the bottom portion, which will be displayed to put this awesome Pink by Design stamp! You then put a brad or button or something to hold the top portion of the card up. Mine looks like this:
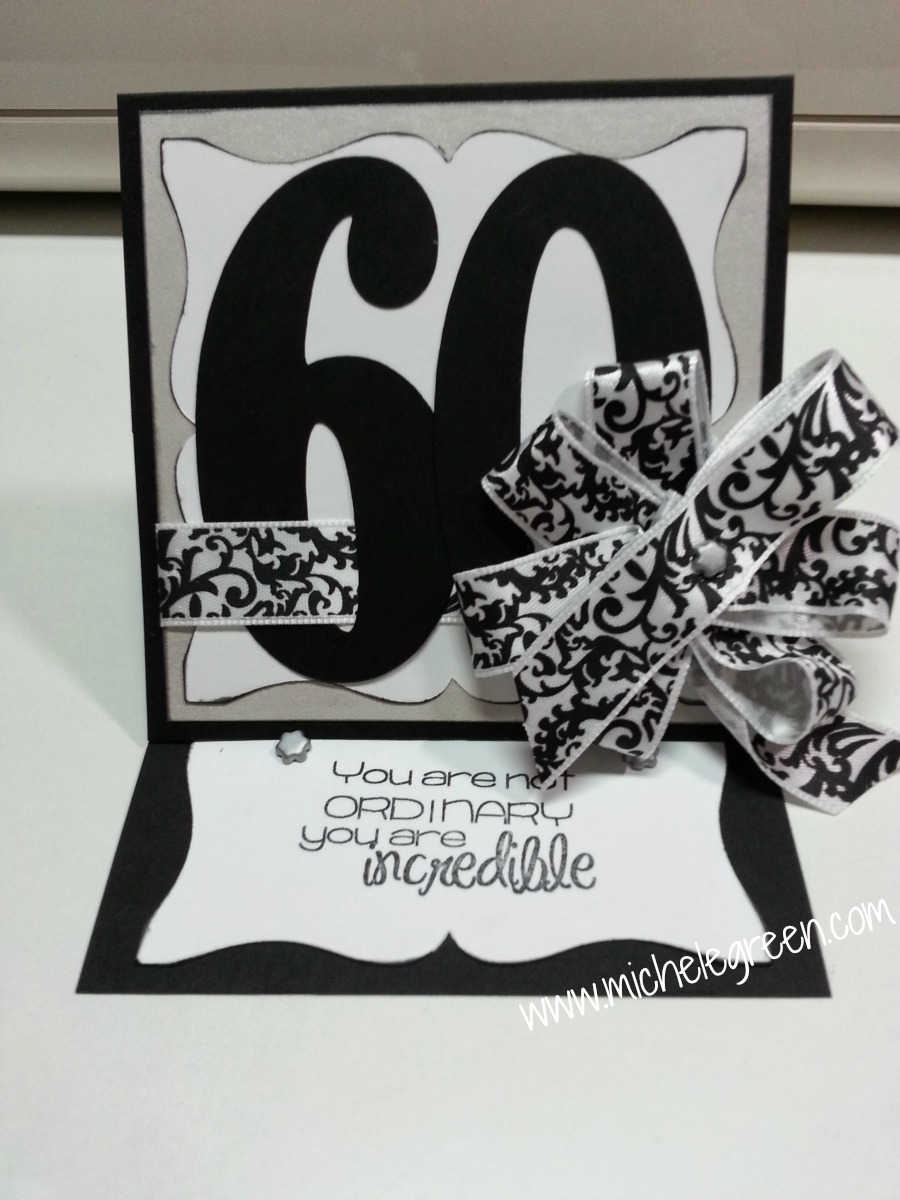
And from the side an easel card looks like this:

I hope you have enjoyed this card - I did! :) Easel cards are much easier to make than they appear so I suggest you try one if you never have! I know I waited way to long to try this myself!
Wednesday, June 19, 2013
School mini album
Hi there and welcome! Today I am on the CricutDIVA blog sharing a mini album with you! This mini was created for our in-home daycare caregiver as the end-of-the-year card from all of our families. Each year I make her something and this year I went with a mini album.
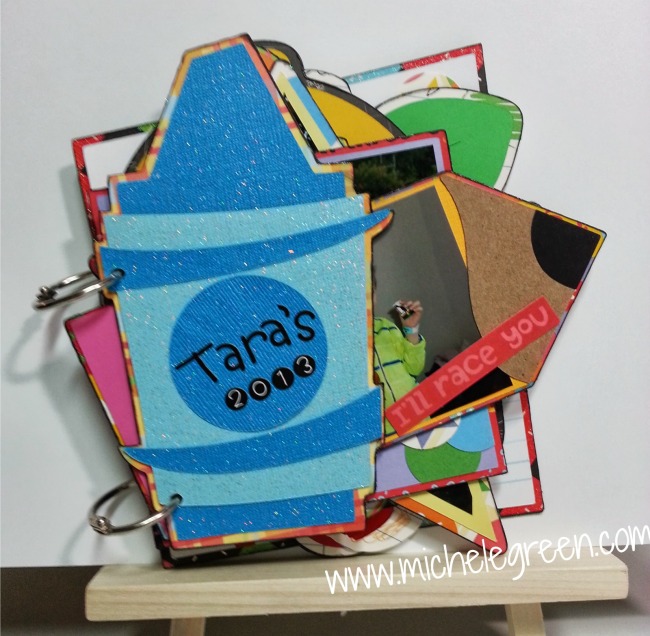
This mini was made with my Cricut Expression and a regular cutting blade. I used a thin cardboard for the base of the shapes. I put my blade length on 4, pressure max, and multi cut 2. I've never had any problem cutting chipboard (or food boxes) with this setting.
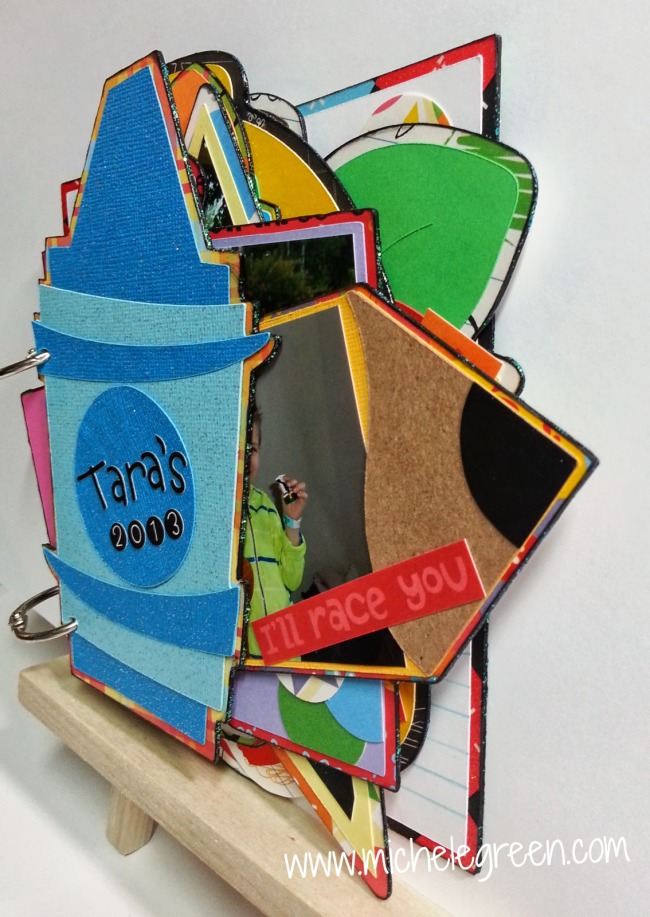
I used papers from the DCWV Grade School stack. I like to stick to one stack for these sorts of projects because while the papers can be greatly different, they all fit together somehow. Each shape had a paper cover the front, which matted the photo and a piece cut using the flip setting for the backside of the shape.
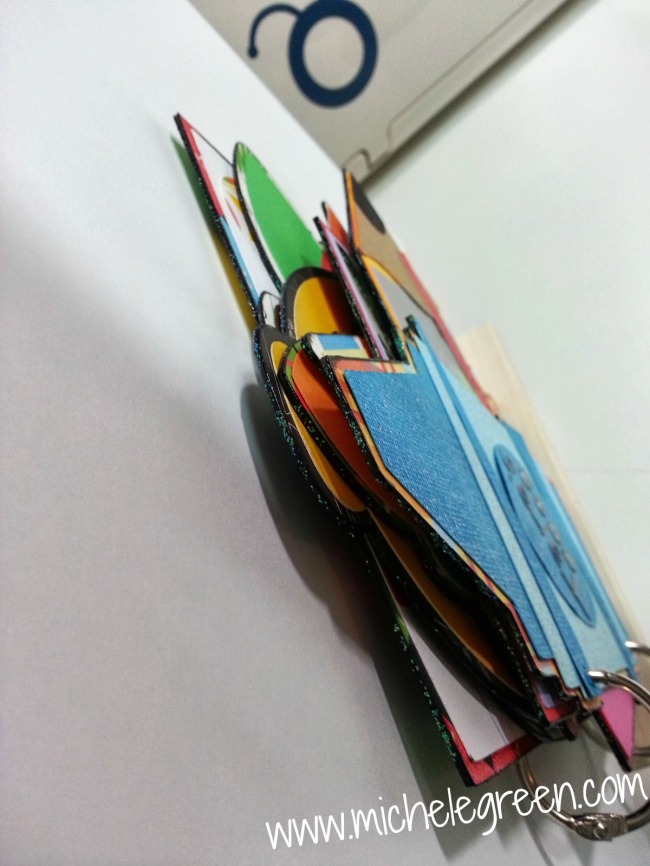
I then chalked the edges in black and sealed them with Glossy Accents and added a sprinkle of white/clear glitter for fun.
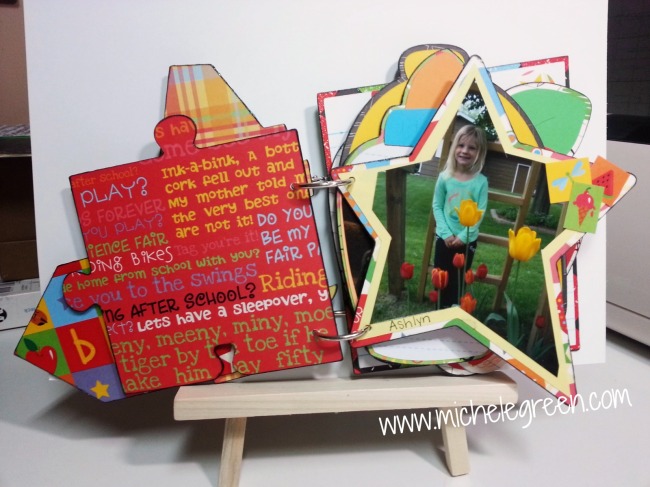
If the shape had an available place, I put the picture there, if not, I tried to make it fit with the shape as much as possible. Here is my daughter's page, which was the most difficult, getting the star shape to work with a 4x6 photo.
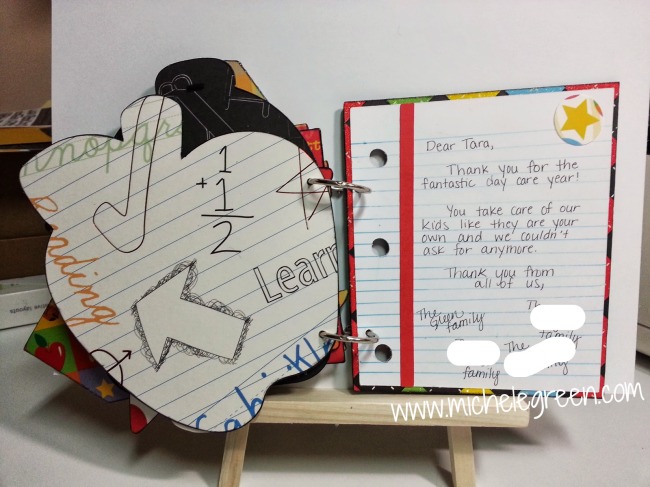
The last shape was a notebook page and served as a place for me to write our thank you note.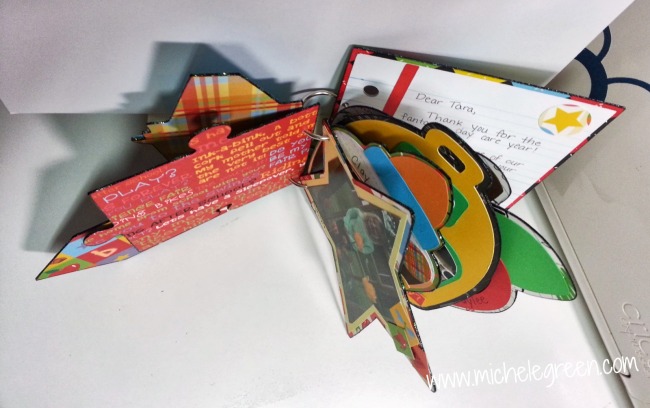
The shapes I used were: Crayon 2 - Locker Talk - 6" Pencil - My Community - 3" Puzzle piece - My Community - 5" Star - Doodlecharms - 6" Glue - Locker Talk - 6" Backpack - Doodlecharms - 6" Apple - Doodlecharms - 6" Notebook page - Locker Talk - 6" I hope you have enjoyed my mini and if you have any questions, please ask in the comments and I will try my best to answer!

This mini was made with my Cricut Expression and a regular cutting blade. I used a thin cardboard for the base of the shapes. I put my blade length on 4, pressure max, and multi cut 2. I've never had any problem cutting chipboard (or food boxes) with this setting.

I used papers from the DCWV Grade School stack. I like to stick to one stack for these sorts of projects because while the papers can be greatly different, they all fit together somehow. Each shape had a paper cover the front, which matted the photo and a piece cut using the flip setting for the backside of the shape.
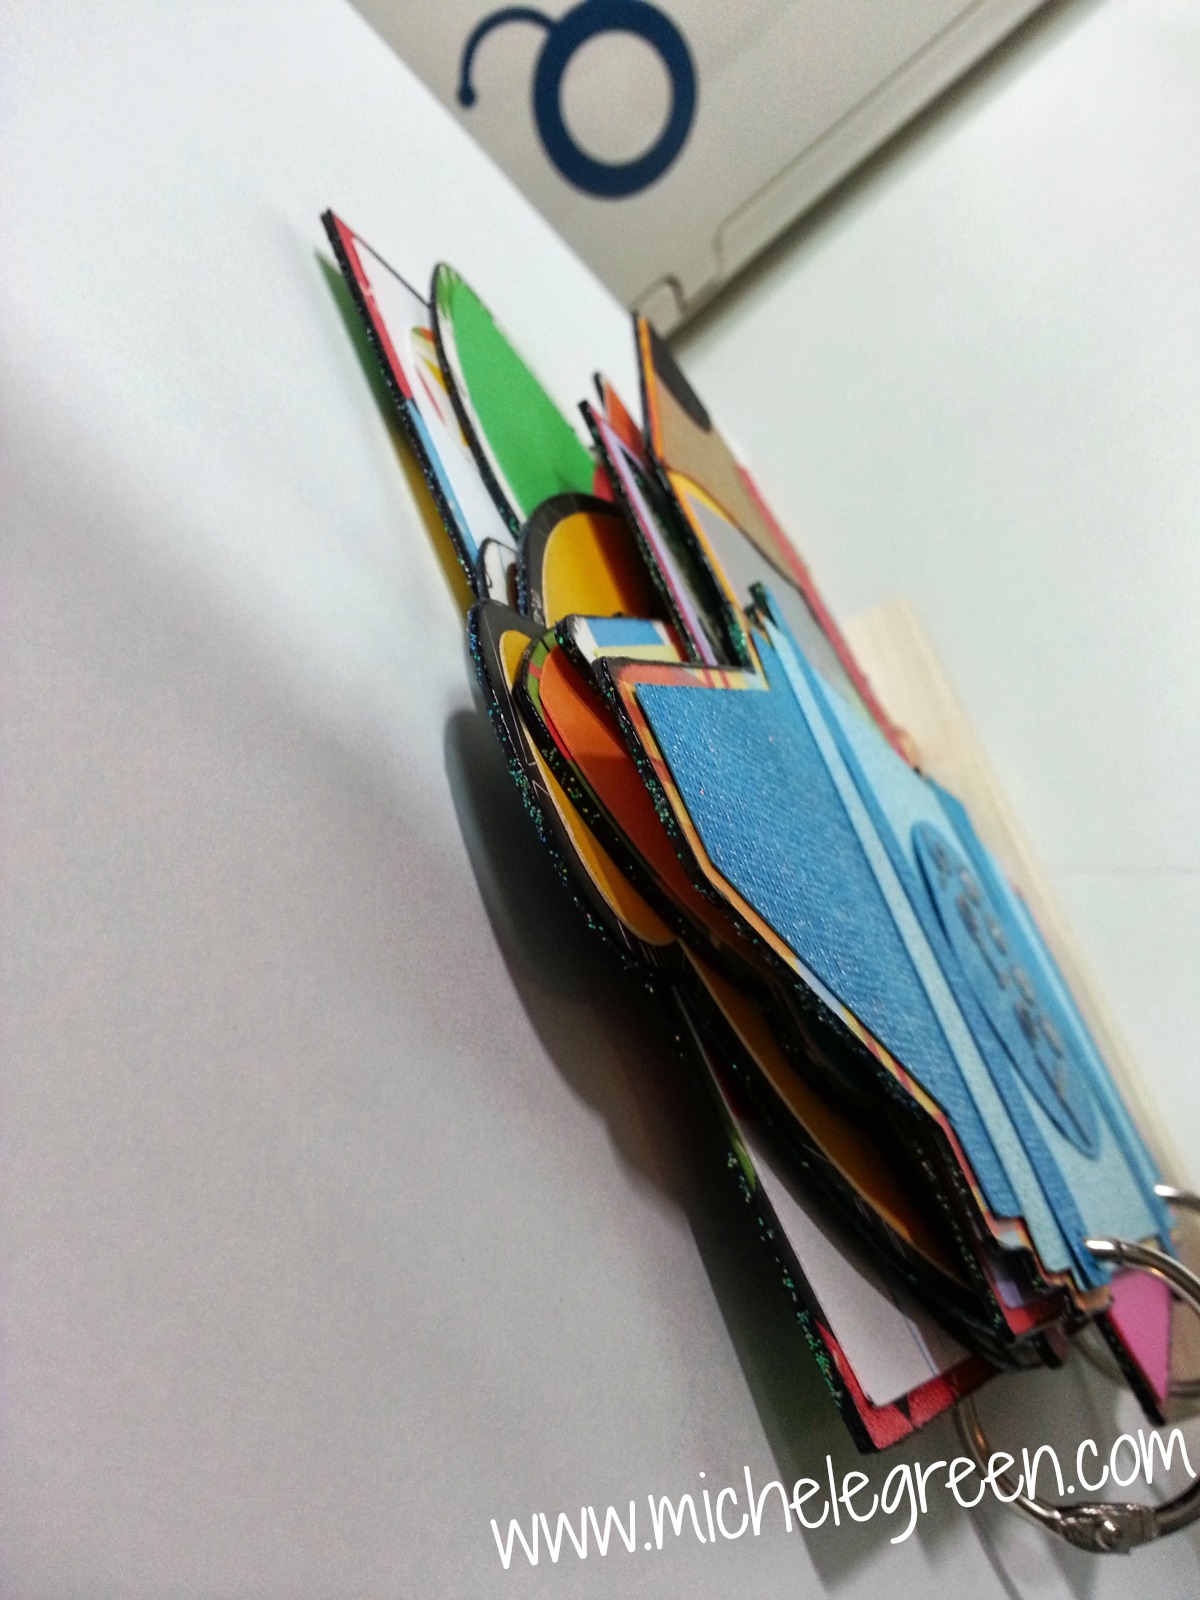
I then chalked the edges in black and sealed them with Glossy Accents and added a sprinkle of white/clear glitter for fun.

If the shape had an available place, I put the picture there, if not, I tried to make it fit with the shape as much as possible. Here is my daughter's page, which was the most difficult, getting the star shape to work with a 4x6 photo.

The last shape was a notebook page and served as a place for me to write our thank you note.

The shapes I used were: Crayon 2 - Locker Talk - 6" Pencil - My Community - 3" Puzzle piece - My Community - 5" Star - Doodlecharms - 6" Glue - Locker Talk - 6" Backpack - Doodlecharms - 6" Apple - Doodlecharms - 6" Notebook page - Locker Talk - 6" I hope you have enjoyed my mini and if you have any questions, please ask in the comments and I will try my best to answer!
Thursday, May 30, 2013
LOAD30 - Swing
Man, today's prompt was the hardest by far for me!! It was a weapon day and we were given the lead pipe. The only connection I could come up with for lead pipe was swinging a baseball bat so I went with baseball pictures.

Oddly enough I used the word swing as my title but I don't have any pictures of her batting! Oops! :)
One more day to go!!

Oddly enough I used the word swing as my title but I don't have any pictures of her batting! Oops! :)
One more day to go!!
Wednesday, May 29, 2013
LOAD29 - Mr. Green
Today was the last character prompt and it was Professor Plum. Aw, boo! That means there will be no Mr. Green prompt! I had been waiting for that one. Well I took today's prompt and twisted it so that I could scrap Mr. Green:

In the journaling box I put a resume of sorts. All of the papers are from the DCWV Grade School stack.

In the journaling box I put a resume of sorts. All of the papers are from the DCWV Grade School stack.
Tuesday, May 28, 2013
LOAD28 - Our home
Today's prompt was "where". I thought that was the perfect reason to scrap pictures of our home!
 The journaling tag tucked between the pictures is the same shape as behind the title and house and says, "It's not fancy and there are tons of reasons why we don't like it but our house at .... works for us. It's where we lived when Ashlyn was born. It's where the girls started soccer, softball, and dance. It's where our family loves one another unconditionally. It's home."
The title and house are from the Cricut cart Nifty Fifties.

The title and house are from the Cricut cart Nifty Fifties.
Monday, May 27, 2013
LOAD27 - Christmas Parade
Today's prompt was conflict. I didn't have pictures that dealt with my girls fighting or anything else that I could think of so flipping through my picture box I came to these photos and remembered that there was no conflict with the timing of this year's Christmas parade! That in itself is a small miracle!

In person, the big title letters on this layout look really good and match the paper colors better than in the photo. You'll just have to trust me that it looks good. ;)

In person, the big title letters on this layout look really good and match the paper colors better than in the photo. You'll just have to trust me that it looks good. ;)
Thursday, May 23, 2013
LOAD23 - Cincinnati
Today's prompt was candlestick and here's my layout:

Yeah, what? How did I get baseball? Well I could think of essentially nothing for the original prompt so then I went to Candlestick Park, which led to baseball, and this game we went to in Cincinnati.
Since there isn't much room with the way this paper is, I put my journaling on the tags under the main photo.

I hope you are looking forward to the long weekend!

Yeah, what? How did I get baseball? Well I could think of essentially nothing for the original prompt so then I went to Candlestick Park, which led to baseball, and this game we went to in Cincinnati.
Since there isn't much room with the way this paper is, I put my journaling on the tags under the main photo.

I hope you are looking forward to the long weekend!
Wednesday, May 22, 2013
LOAD22 - Yeehaw!
Today's prompt was the character Miss Scarlet. I went with the red color and scrapped pictures of my youngest riding her rocking horse all decked out.

The cuts are all from the Yeehaw Cricut Lite cart.


The cuts are all from the Yeehaw Cricut Lite cart.

Subscribe to:
Posts (Atom)